Rules of Composition:
ISO and Shutter Speed:


Photogram:

Dark Room Photography
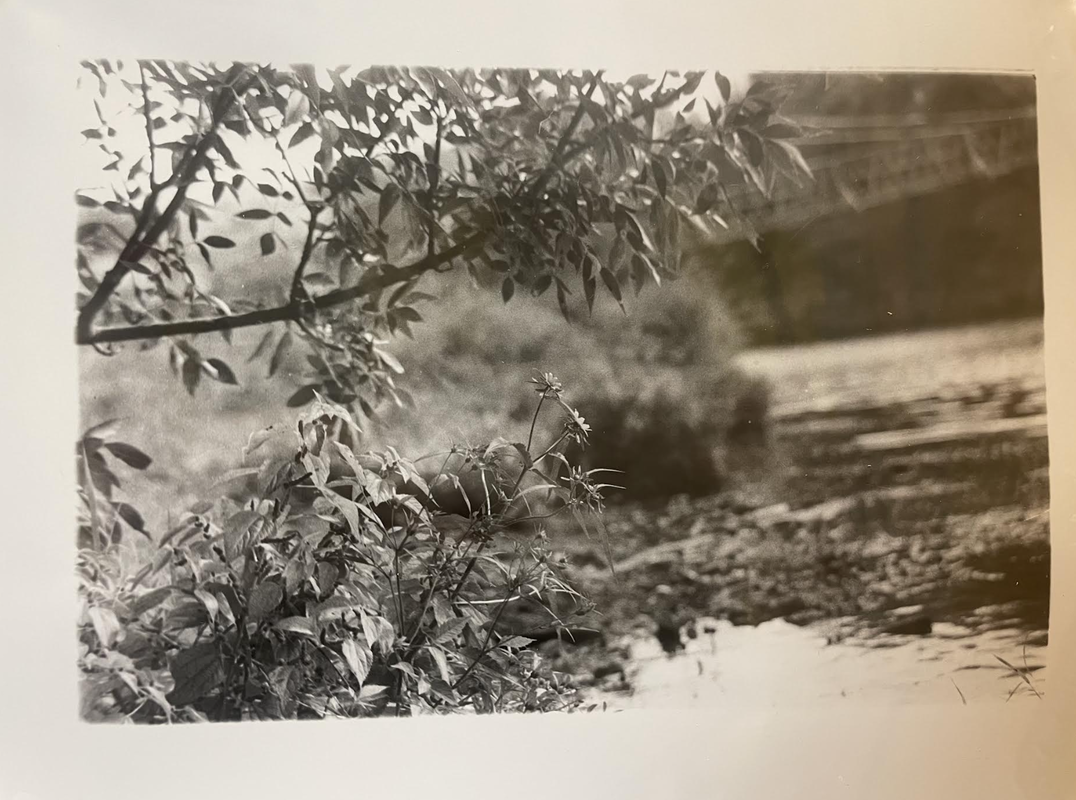
The dark room smelt really bad. We had "safe lights". Safe lights are lights that are safe to have in the dark room and don't tarnish the photo making process, unlike sunlight, and light from normal light bulbs. Even with these lights, the room was very dark, and the fact that I had to walk and work and try to create a good finished product while I could barely see did stress me out, but once you get used to the surroundings and get used to the dark in general, the process starts to become fun. The first tool we use in the process is a " Condenser Enlarger" This tool has a lightbulb and a "Negative Carrier". When you place your negative in the negative carrier and turn on the light, the image from the negative is then projected to the surface below. Before placing the "Photo paper" down, I adjusted the Focusing, and hight adjusting knobs, so that the picture would come out perfectly placed and focused. After placing the photo paper down, I set the timer for the amount of time I felt that my photo needed, depending on the lights and darks of the image. After the timer is up the image is on the paper, but is not visible. To make the image visible you first need to place the paper in "Developer" while the paper was in the solution I watched as the image darkened. Once I liked the darkness of the image I took the paper out of the solution and place it into another solution, the "Stop Bath". after ten seconds I take the paper out and put it into yet another solution, "Fixer". After two minutes of the paper being in the fixer, we take the paper out and give it a "water rinse". We then squidgy the paper, before hanging it up to dry. Once dry you can see the full finished product.

For this skills practice we used two photos, one without someone standing in the crocks, and one with someone standing in the crocks. The goal was to erase the legs but keep the shadow of the person. We watched a step by step video on instructions on how to use erase tools, and how to use tools where you can use other photos and sort of "blend" them together, so that when we erase the legs the background was still "realistic" and looked seamless.
